How to make iPhone photos look like film
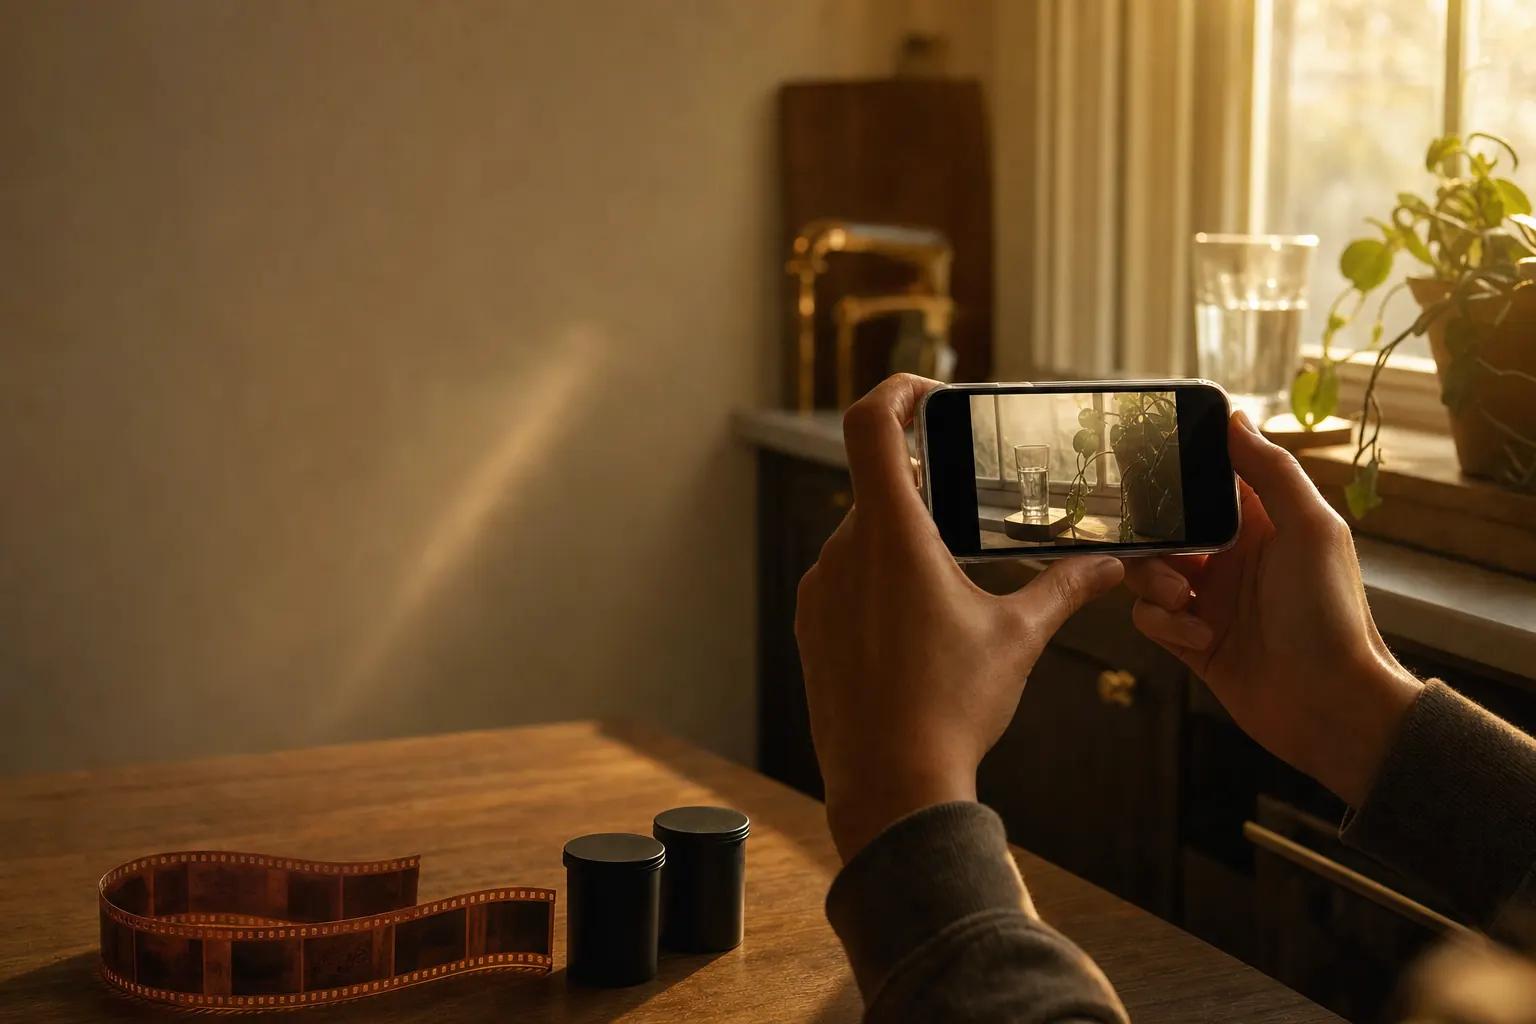
Four things separate a film frame from a phone frame. The tone curve lifts the blacks instead of crushing them. The colors drift away from accurate. Grain sits across the whole image, including the sky. And bright edges bloom slightly into whatever is next to them. Get those four right and almost any phone photo reads as film. Add grain to an otherwise clean, heavily processed file and it reads as a filter, because the grain is the last step, not the first.
Give an iPhone photo a film look, step by step
- Pick a photo with real light in it. Side light, window light, late afternoon. Film looks like film partly because photographers waited for light. A flatly lit midday snapshot has nothing for a tone curve to work with.
- Lift the shadows before anything else. Color negative film never reaches true black in the shadows. Raise the black point until the darkest area sits a little above zero. This single move does more than any preset.
- Roll off the highlights instead of clipping them. Bright areas on film compress gently as they get brighter. Pull the highlights down and add a soft shoulder to the curve so skies and skin never hit flat white.
- Let the color go slightly wrong. Push greens toward yellow, cool the shadows, warm the highlights. Accuracy is a digital goal. A film stock has a personality, which means it renders some colors badly on purpose.
- Add grain last, over the whole frame. Grain applied before the color work gets smeared by it. Apply it at the end, evenly, including flat areas like sky and walls where phone noise reduction has scrubbed everything smooth.
Why an untouched phone photo never reads as film
Modern phone cameras run every frame through a stack of processing designed to produce the opposite of film. Multi-frame HDR merges several exposures so nothing clips and nothing blocks up, which flattens the tonal drama film gives you for free. Noise reduction scrubs the sensor grain out of skies and skin. Sharpening puts a thin halo on every edge. Color science aims for memory colors, so grass is reliably green and skin is reliably pleasant.
Each of those decisions is correct for a phone and wrong for the film look. Film clips highlights, blocks up shadows, adds texture everywhere, and renders greens with a bias that changes stock to stock. The work of a film edit is partly subtraction: you are putting back the imperfection the pipeline removed.
The four adjustments that carry the whole look
Tone curve first. Lift the black point by a few percent and compress the top end. If you do nothing else, do this. Second, color. Warm highlights against cool shadows is the split-tone signature of daylight color negative, while a warmer, denser rendering with heavier reds belongs to mid-century slide film. Third, grain, sized to the image and applied globally. Fourth, halation: a faint red-orange bloom where a bright area meets a dark one, which comes from light bouncing off the back of the film base.
Doing this by hand in a general editor takes ten or fifteen minutes per photo and the settings rarely transfer between images, because a curve tuned for a bright beach frame wrecks an indoor one. That is the argument for working from a profile instead of sliders.
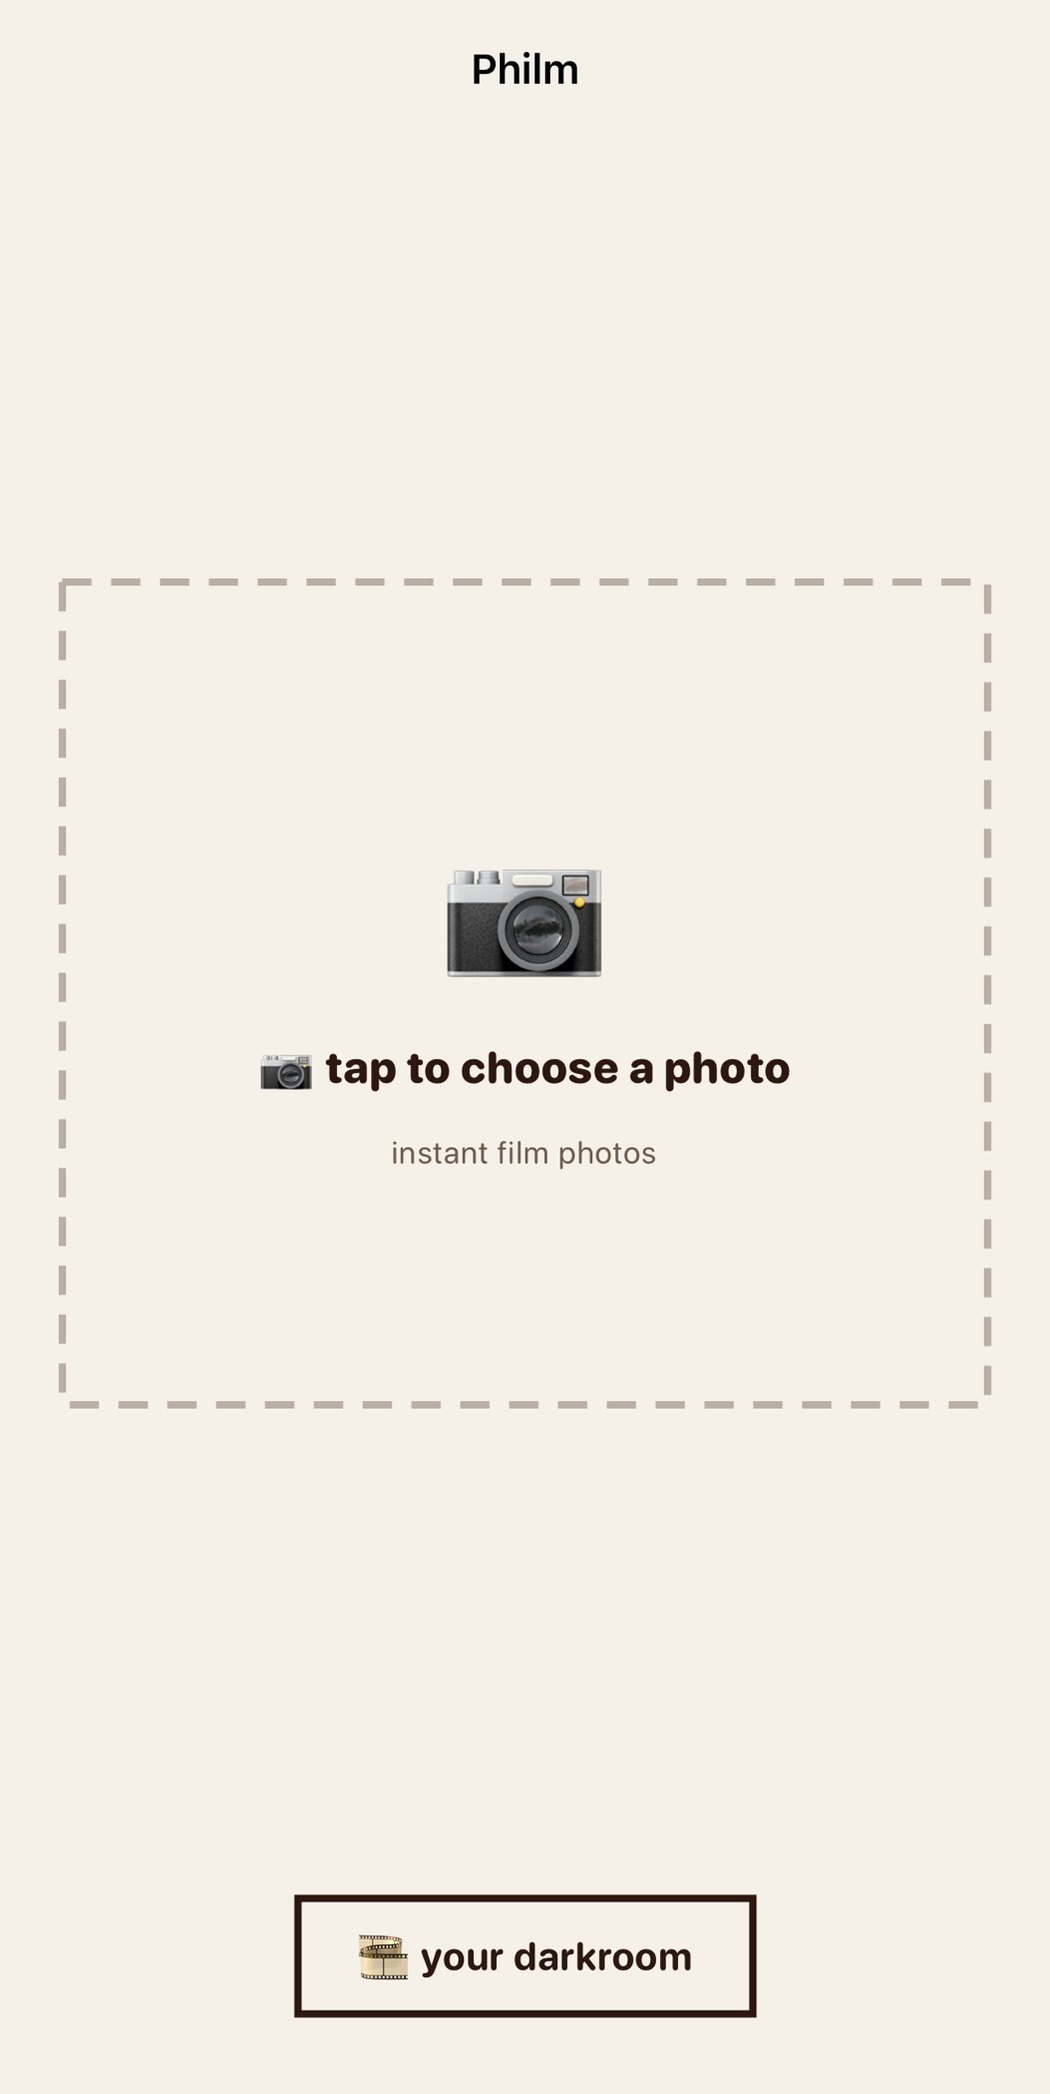
Working from a profile instead of stacked sliders
A film profile bundles the tone curve, the color rendering, the grain structure, and the vignette into one thing that was tuned together. Philmm ships eight of them, covering a warm mid-century slide look, a couple of contrasty street-photography renderings such as Iron Street and Midnight Drift, a cross-processed option with the shifted cyans that come from developing slide film in the wrong chemistry, and black and white. You choose the photo, choose the profile, and the app renders the full stack.
The practical benefit is consistency. Ten photos from the same afternoon run through the same profile come back looking like one roll rather than ten separate editing sessions. That is the actual reason film photos hang together as a set: the stock, the lab, and the scanner were constant, so every frame carries the same fingerprint.
Finished frames land in the darkroom view, and the share sheet sends them straight to Instagram, Messages, or wherever the photo is going. A home screen widget keeps the most recent edit visible, which is a small thing that quietly makes you shoot more.
Shooting with the edit in mind
If you know a frame is heading for a film treatment, expose for the highlights and let the shadows fall. Tap the brightest part of the scene and drag the exposure slider down a third of a stop or so. A slightly dark original has room to be lifted; a bright one has nothing left in the sky to recover.
Avoid the ultra-wide lens for anything with a person in it. Film cameras of the era being imitated ran 28mm to 50mm equivalents, and the depth and distortion of a 13mm phone lens reads as unmistakably modern no matter what grain you put on top. Stand closer with the main lens instead.
Questions
Does a film look work on photos I already took years ago?
Yes, and old photos are often better candidates. Files from three or four generations ago went through lighter processing, so they have more sensor texture and less aggressive HDR flattening to fight against.
Should I edit in the Photos app first and then apply a film profile?
Straighten and crop first, then stop. Contrast, saturation, and sharpening applied beforehand fight the profile, and sharpening in particular leaves halos that grain makes more obvious rather than less.