How to get the disposable camera effect on iPhone photos
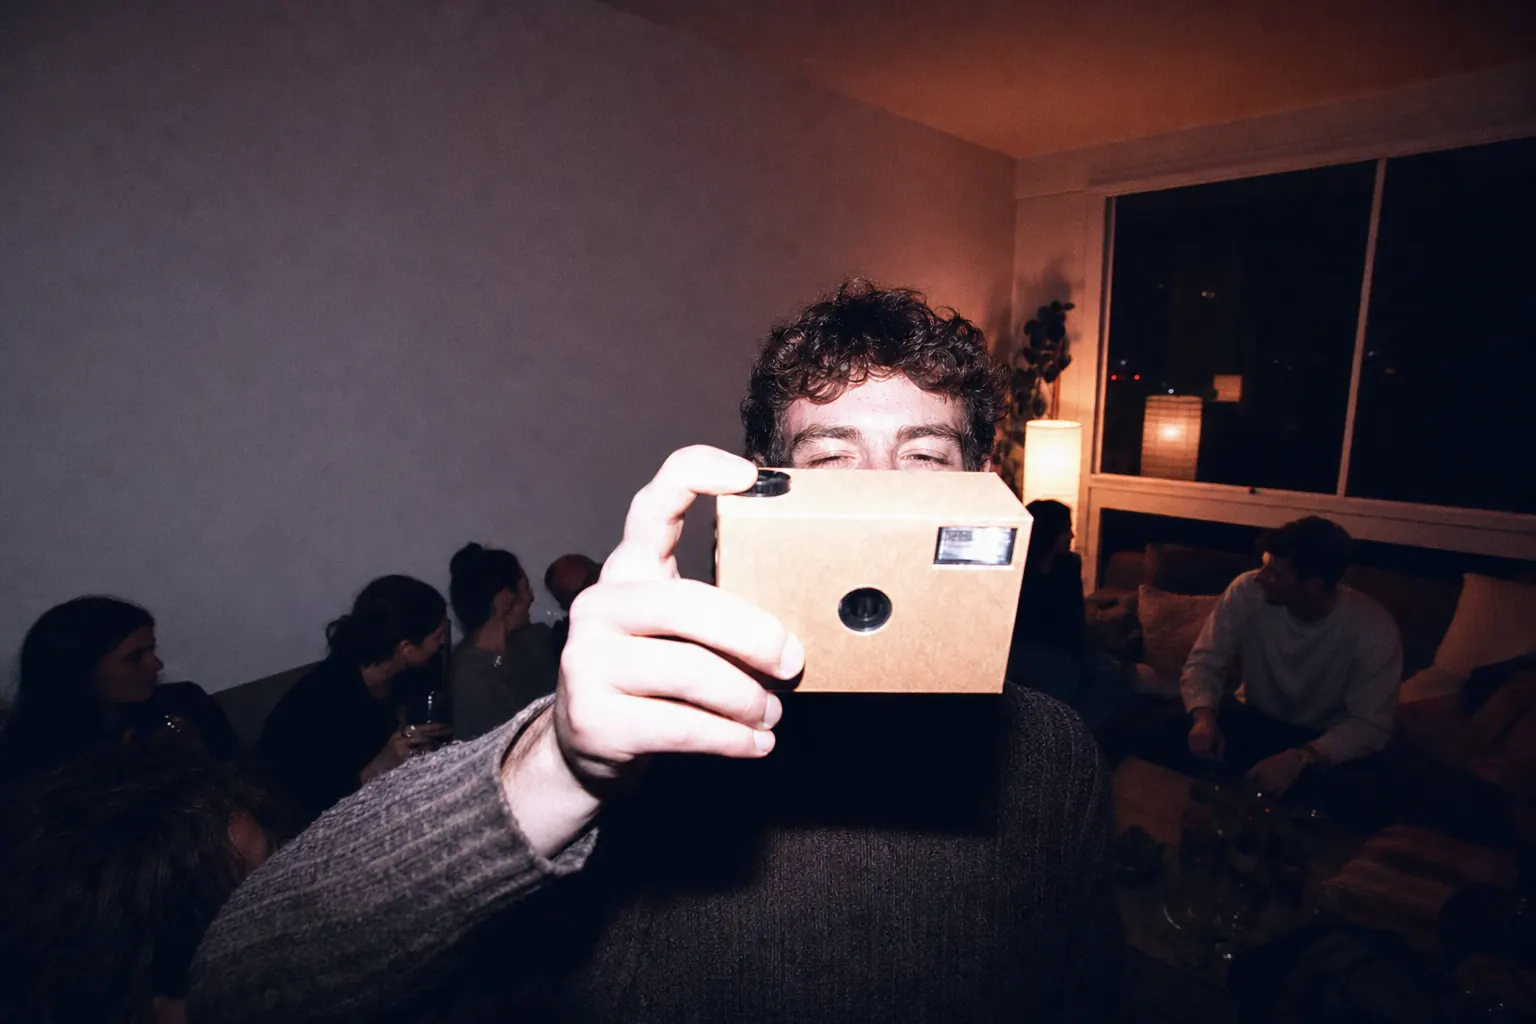
The disposable camera look comes from flash, not from a filter. A single-use camera has one shutter speed, one aperture, a plastic lens, and a tiny flash aimed straight down the barrel. So the subject is lit hard and slightly too bright, the background falls into darkness within a couple of metres, the corners go soft and dark, colors shift warm or magenta, and everything carries the grain of a fast consumer film. Reproduce that lighting and the edit is easy. Skip it and no preset will save the photo.
Shoot and edit the disposable camera look, step by step
- Turn the flash on and leave it on. Set the phone flash to On rather than Auto. Indoors at night, at a table, in a hallway. The hard frontal light and the fast falloff behind the subject are the two signatures people actually recognise.
- Get close and use the main lens. A single-use camera is roughly a 32mm lens with a fixed focus starting around a metre. Stand about that far away, use the 1x lens, and fill the frame with faces. The ultra-wide will not read as disposable at any distance.
- Stop composing carefully. Shoot at chest height, tilted, mid-conversation. Half the charm is that the photographer could not see the result and did not fuss. Perfectly level horizons undo the effect faster than any color choice.
- Apply a warm, contrasty film profile. Pick a profile with lifted blacks, warm highlights, and a strong vignette. In Philmm the punchier consumer-stock profiles do this in one pass, including the grain and the corner falloff.
- Let the highlights blow out. Resist recovering the bright patch on the nearest forehead. Clipped flash highlights are correct here. Pulling them back is the single most common thing that makes an attempt look like a phone photo with a filter on it.
What actually creates the look
Five physical facts, all of them limitations. The fixed aperture is around f/10, so indoors the flash is doing all the work and the ambient room contributes almost nothing. The flash is weak and close to the lens, which gives flat frontal light, red eyes, and a background that drops off sharply as distance squares. The lens is a single moulded plastic element, so the corners are soft and darker than the centre. The film is usually an ISO 400 or 800 consumer stock, so grain is obvious and the color leans warm. And there is no focus, no metering, and no preview.
Notice that four of the five are things a phone actively prevents. Night mode brightens the background you want dark. HDR recovers the highlight you want clipped. Noise reduction removes the grain. The lens is sharp corner to corner. Getting the look on a phone means overriding the camera before you edit anything.
Shooting for the look before you filter for it
Force the flash on, which also disables Night mode and forces a short exposure, killing the ambient light in one move. Hold the phone at chest or shoulder height rather than eye level. Shoot people mid-sentence rather than posed. Indoors and after dark is the natural habitat, though direct flash in daylight against a shadowed background is the other classic disposable frame and works just as well.
One detail worth copying: single-use cameras were handed around. The photos that look most authentic are the ones where the photographer is clearly inside the group rather than standing back documenting it. Distance reads as digital.
Editing photos you already have
Existing flash photos from parties convert well. Existing daylight photos mostly do not, because the lighting is wrong and no amount of grain fixes lighting. If you are working from an ordinary well-lit photo, accept that you are making a general retro edit rather than a disposable one, and pick a profile on that basis.
For a photo that does have flash in it, the edit is short. Lift the blacks so nothing is pure black, warm the whole frame, crush the color a little so it looks like a lab print rather than a raw file, add a strong vignette, and finish with heavy grain. A film profile applies all of that as a unit, which matters here because the vignette and the grain need to agree with each other. A soft vignette under coarse grain looks like two separate effects stacked.
One last thing that people forget: a date stamp in the corner is a shooting artefact from cameras that had that feature switched on, and adding one to a photo taken last week is the kind of detail that either lands perfectly or looks like a costume. Use it sparingly.
Questions
Why do my flash photos look harsh instead of nostalgic?
Usually because the background is too bright. The look depends on falloff, so shoot in a dim room and keep your subject well in front of the wall behind them. Harsh light on a flatly lit background reads as an accident.
Can I get the effect without using flash at all?
Partially. You can match the color, grain, and vignette on any photo, but the specific disposable signature is the lighting, and a naturally lit frame will read as generic vintage rather than as a single-use camera shot.